
Test 123
Please note: only users with Account access permissions can create and edit chatflows.
If you want to create a chatflow with a bot that sends automated responses to your website visitors, learn how to create a bot.
 You can also create a live chat for your Facebook Messenger account. Learn how to create a chatflow for Facebook Messenger.
Before you get started
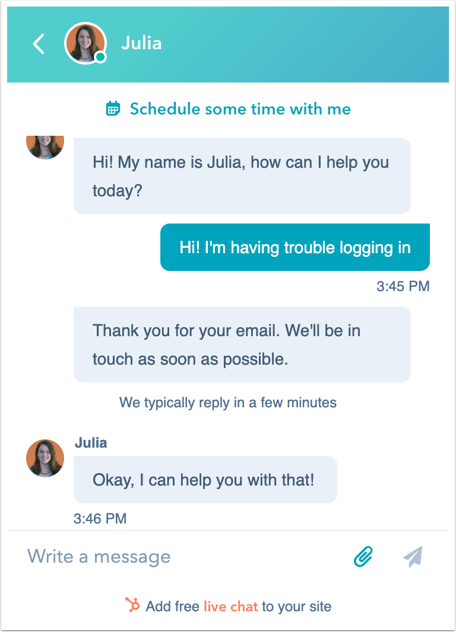
Before you can create a live chat, connect a chat channel to the conversations inbox. The chat channel is where you can customize your team's availability and the appearance of the widget. In addition, if you're adding the live chat to a website that is not hosted with HubSpot, you need to add the tracking code your external pages before you create a live chat. The live chat will not appear if the tracking code is not installed.
- In your HubSpot account, navigate to Conversations > Chatflows.
- In the upper right, click Create chatflow.
- Select Website.
- In the left sidebar, select a live chat option:
- If you want a visitor to be able to immediately start a chat with you and your team, select Live chat.
- If you're a user in a Service Hub Professional or Enterprise account and have at least three published knowledge base articles, select Knowledge base search & live chat to add the option to search the knowledge base directly from your live chat widget.
- Click Next.
- If you have multiple inboxes set up in your account, click the Select an inbox dropdown and select a different inbox.
- To change the language of your chatflow from English, on the left, click the Select a language dropdown menu and select another language.
- Click Next.
- If you have more than one conversations inbox set up, in the dialog box, click the dropdown menu and select a shared inbox.